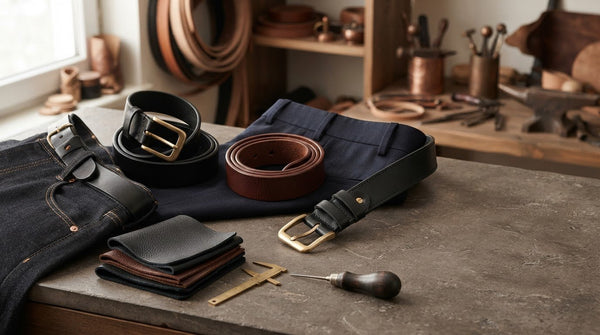
How to Make a Genuine Leather Belt?

What Are the Stages of Making a Leather Belt?
1. Preparation of Materials:
- Genuine leather: Select the leather, which is the main material for the belt. You can use full-grain or sheet leather for leather belt making.
- Cutting tools: Use a leather cutter or scissors to cut the leather.
- Sewing supplies: You will need basic sewing supplies such as a needle, thread, and a stitching hole punch.
- Buckle and rivets: Use a buckle and rivets to allow the belt to fasten.
2. Cutting the Leather:
- Cut the leather you have chosen according to the desired length and width of the belt. Use a smooth and sharp blade when cutting.
3. Smoothing the Edges:
- Use an edge beveler or sandpaper to smooth out the cut leather edges.
4. Creating Stitching Marks:
- Create stitching marks along the edges of the belt. You can use a stitching hole punch or an awl for this. Stitching marks make sewing the edges of the belt easier.
5. Sewing:
- Bring the edges of the belt together and sew them. You can hand-stitch using a needle and thread. Make sure to create the needle holes properly to secure the leather during sewing.
6. Applying the Buckle and Rivets:
- Attach a buckle to one end of the Genuine Leather Belt and rivet the other end. Use a rivet mallet to secure your rivets.
7. Final Checks:
- Check your belt carefully and see if any adjustments are needed. If necessary, make corrections and repeat the final checks.
8. Maintenance:
- Don't forget to perform regular maintenance so that your newly made leather belt lasts longer. Soften and protect the leather using leather care oil or cream.
By following these steps, you can easily make your own handmade leather belt.
You can also read our article on Leather Belt Maintenance here. HOW TO MAINTAIN A LEATHER BELT?
Have fun and good luck!
You can examine all of our genuine leather belt models in our genuine leather belt collection — produced with craftsmanship in our Gerede workshop.